Showing posts with label dessert. Show all posts

Wednesday, May 21, 2014

The BEST Vegan Chocolate Cake


Jerry and I celebrated our anniversary recently, so I was in search for a delicious, healthy, VEGAN cake recipe. I made a vegan carrot cake for his birthday and it was pretty gross. So, I thought I'd go for chocolate, because it's easy enough. I didn't want just easy. I wanted simple because I am also working as I'm baking this darn cake.

Thank goodness! I found the best recipe for vegan cake! Thanks to The Minimalist Baker, this recipe will be my go-to recipe going forward. Not only was the cake delicious, the frosting was too. It was everything she said it would be. 

Tender.
Fluffy.
Chocolatey.
Sweet.
Moist.
Decadent.
Generously frosted.

... And perfect with a scoop of soy ice-cream.

It was the first time I used the letters & numbers silicone baking molds - a Christmas gift to myself. I had create the + and + signs from another letter. It all worked out pretty good in the end. J was super impressed.

Here's the batter:

Here are the letters and numbers out of the mold:
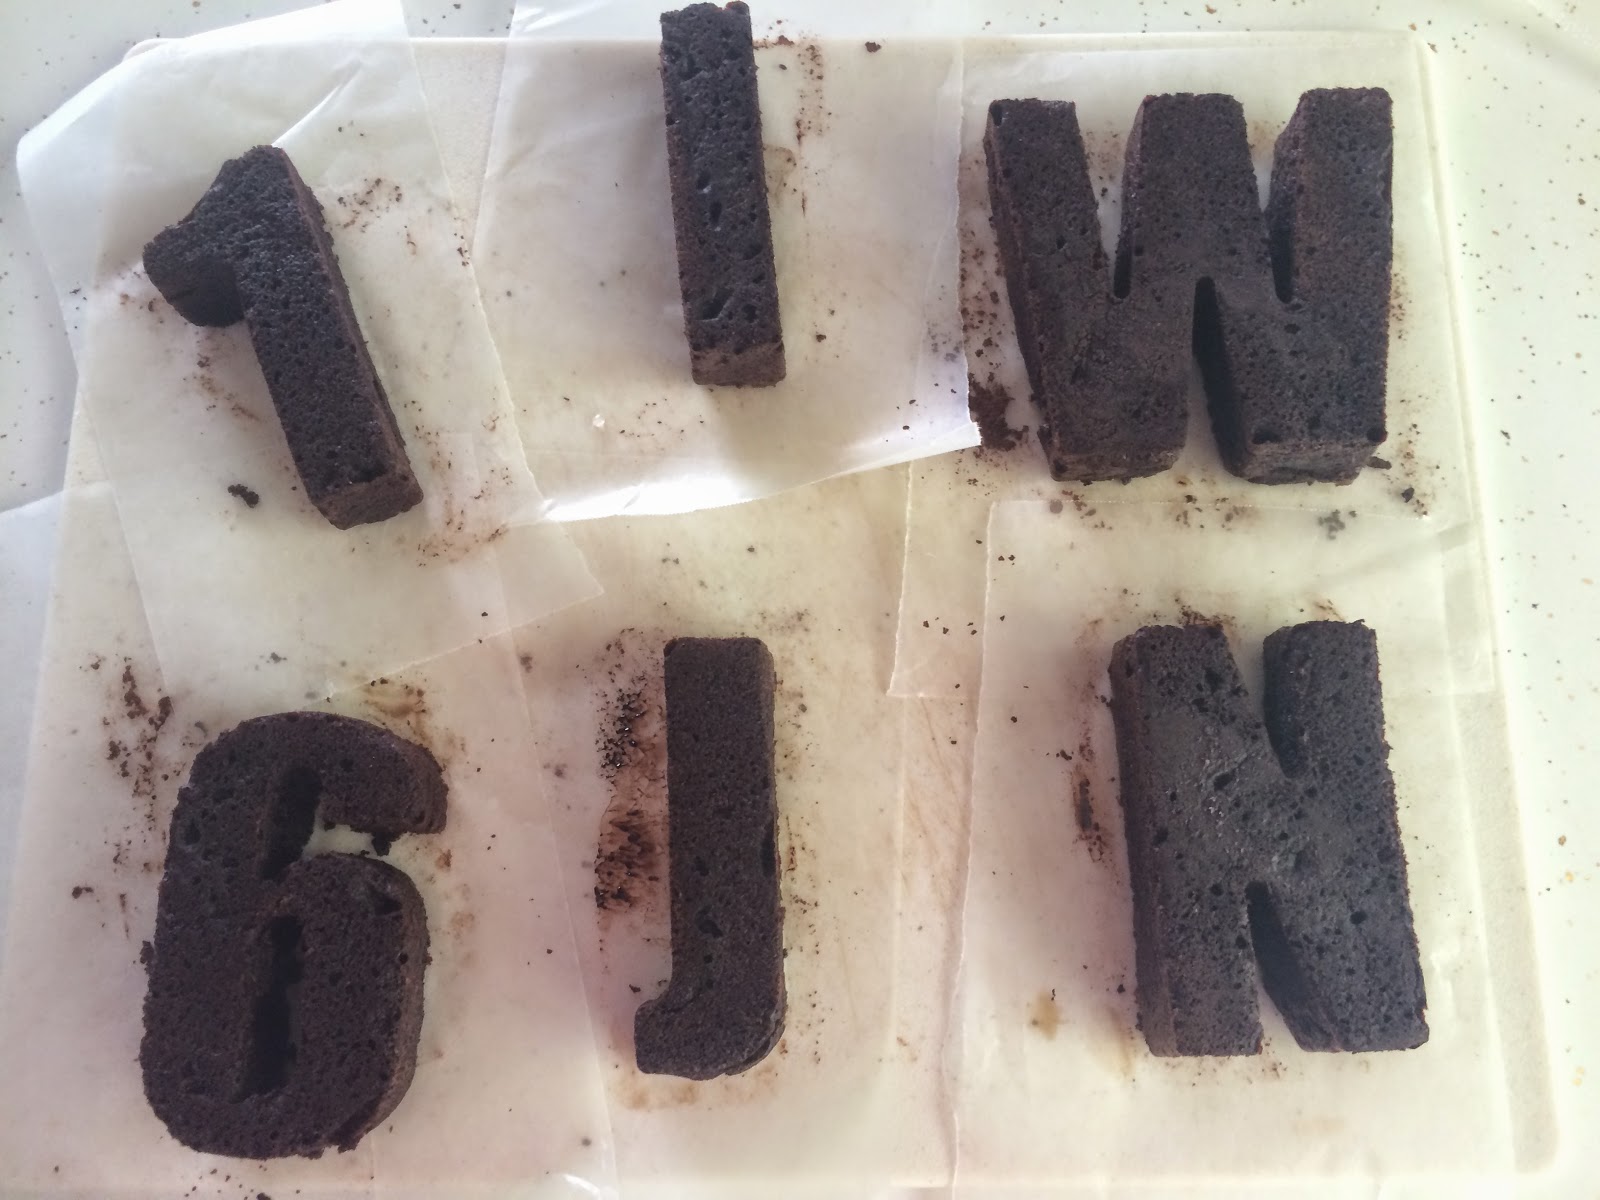


I didn't feel like the hood in the "J" was long enough, so I added a piece to it:


 I have to say, I thought frosting the 6 would be the toughest, but it was actually the + sign that ended up being the most challenging. I frosted each letter or number individually, then very carefully added them to the platter.


Until I finished my little message:


Here's a link to her recipe, but I also copied everything here for your (and my) convenience. Just follow the instructions. I will not steer you wrong!

ONE BOWL VEGAN CHOCOLATE CAKE

PREP TIME
15 mins
COOK TIME
25 mins
TOTAL TIME
40 mins

One bowl vegan chocolate cake made in 1 hour with simple ingredients. A two layer, buttercream-frosted cake that's moist, fluffy and rich with chocolate flavor.

Author: Minimalist Baker
Recipe type: Dessert
Cuisine: Vegan
Serves: 10

INGREDIENTS
For the Cake:

  • 1 1/2 cups original unsweetened Almond Breeze Almond Milk
  • 2 tsp white or apple cider vinegar
  • 1 1/4 cups unsweetened applesauce*
  • 1/2 cup strong brewed coffee (or sub more almond milk)
  • 2/3 cup melted coconut oil, or sub grape seed or canola oil
  • 2 tsp pure vanilla extract
  • 2 cups + 2 Tbsp whole wheat pastry flour or unbleached all-purpose flour
  • 1 1/3 cups cane sugar (or sub granulated sugar)
  • 1 cup unsweetened cocoa powder
  • 2 tsp baking soda
  • 1 tsp baking powder
  • 1/4 tsp salt
For the Frosting:

  • 1 cup (16 Tbsp) vegan butter, softened
  • 2 1/2 - 3 cups powdered sugar
  • 2/3 cup unsweetened cocoa powder
  • 1/4 cup dairy-free semisweet chocolate, melted and slightly cooled
  • 2 tsp pure vanilla extract
  • ~1/4 cup unsweetened original Almond Breeze Almond Milk

INSTRUCTIONS

  1. Preheat oven to 350°F and lightly spray 2 8-inch round cake pans or one large rectangular pan with nonstick spray (see notes for cooking times for different size pans). Dust with cocoa powder, shake out the excess and set aside.
  2. Mix the almond milk and vinegar in a large mixing bowl, and let set for a few minutes to activate. Add the oil, coffee, vanilla extract, and applesauce and beat until foamy.
  3. Add the flour, sugar, cocoa powder, baking soda, baking powder, and salt to a sifter and slowly sift over the wet ingredients while mixing with a hand-held or standing mixer. If you don’t have a sifter, simply mix dry ingredients in another bowl and add to the wet mixture while beating. Beat until no large lumps remain. It should be creamy and pourable. Taste and adjust sweetness as needed, adding more sugar if desired (I found it plenty sweet).
  4. Divide batter evenly between your 2 cake pans or rectangular pan.
  5. Bake 25-30 minutes, or until a toothpick inserted into the center comes out clean. Let cool completely before frosting.
  6. While cooling, prepare frosting by beating together all ingredients until light and fluffy, adding the powdered sugar in small amounts until you reach your desired consistency and sweetness. If it becomes too thick, add more almond milk. If it's too thin, add more cocoa powder or powdered sugar.
  7. Once the cake is cooled, frost generously with buttercream frosting, adding a thick layer between the top and bottom layers (if doing a 2-layer cake). Alternatively, omit the frosting and dust with cocoa powder.
  8. Serve with a scoop of dairy-free ice cream, a drizzle of chocolate or caramel sauce, coconut whipped cream or a glass of almond milk!

He ate the "N" and I ate the "J" (well, he also ate the + and one of the = signs).


Ohhhh....the frosting!!!! Was incredibly yummy. Seriously. It was delicious! Try it yourself. I WILL NOT STEER YOU WRONG!

Thursday, June 7, 2012

Desserts & Wine, Anyone?


I was in Miami last weekend for my cousin's bachelorette party. We had a great time and it was great to see my cousins who live in three different states. On our last evening in Miami, we had a wine and dessert party to end the fabulous weekend.

We didn't want to spend too much time cooking/baking so we made some easy desserts:

I made panna cotta with a berry sauce, goat cheese stuffed strawberries and put together strawberry shortcake using store bought pound cake, COOL WHIP and strawberries.

My cousin made salmon cream-cheese stuffed bell peppers. We had some fruit and store bough cookies/brownies. Served with Rosé.
It was fun!


Wednesday, February 15, 2012

Heart Pastries 4 My Valentine

We typically don't do much on Valentine's Day. I usually make dinner and this year I made a pepper-crusted filet mignon with veggies for dinner. And for dessert...I made these heart pastries because it's obligatory to make something heart-shaped on this "holiday." I filled them with peaches and brown sugar, popped them in the oven until they were golden and he ate them up. I have to admit, I did also cut his apples into heart shapes for breakfast - and yes, he enjoys these things...that's why I do them!
* These photos were taken on my phone because I'm not using the DSLR when I'm working with flour!

Sunday, January 1, 2012

My Oversized Whoopie Pies


I made these red velvet whoopie pies to ring in the new year. J and I went out to a nice NYE dinner and then celebrated the new year by stuffing our face with these.

Wednesday, December 21, 2011

A First: Cake Pops (+ J's Bday Dinner)

Party for two!

It was J's birthday a couple weeks ago and I wanted to do something special. I made a steak dinner and  those cake pops/cupcakes for dessert! It was my first time making cake pops, and you know how ambitious I am...I decided to go all out and borrowed Bakerella's Cake Pops book from my friend Robin With An I.

Here's a closer look at the cake pops:

They turned out well, for my first attempt. I have to say, it was pretty frustrating to get the technique down. I did lose five cake pops due to my FAILS:


Overall, I was happy with the seven I was able to make. (I planned to make a dozen). The lions were my favorite and way easier to do than the pandas. Birthday boy was super impressed with my work. He didn't want to eat them (but he did). So, that was dessert!

Here's what I made for dinner: Rosemary Rubbed Filet Mignon served with roasted brussel sprouts & bacon and garlic primavera risotto


My little jar of minced garlic always comes in handy. I do this to save time and it really does save a lot of time! I basically mince 2 heads of garlic and combine with oil. Store this jar in the fridge and use it for almost anything. One of the best tips I picked up from TV.


 Brussel sprouts! Before and after:


Thursday, November 3, 2011

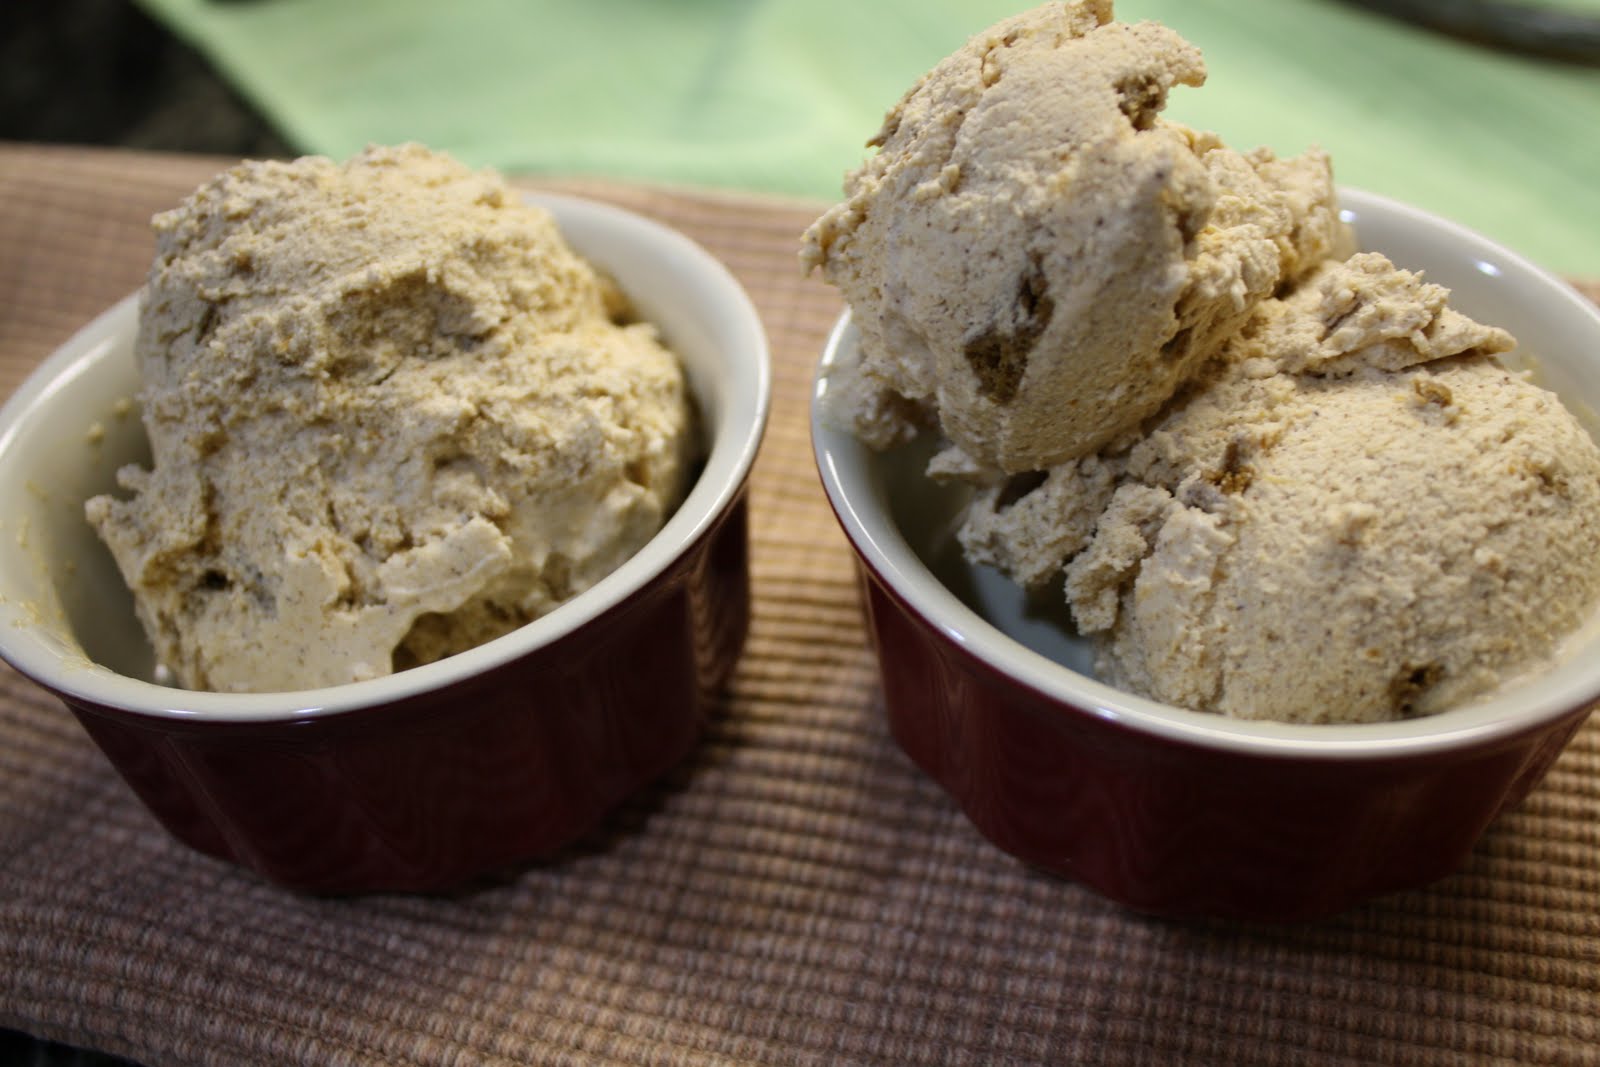
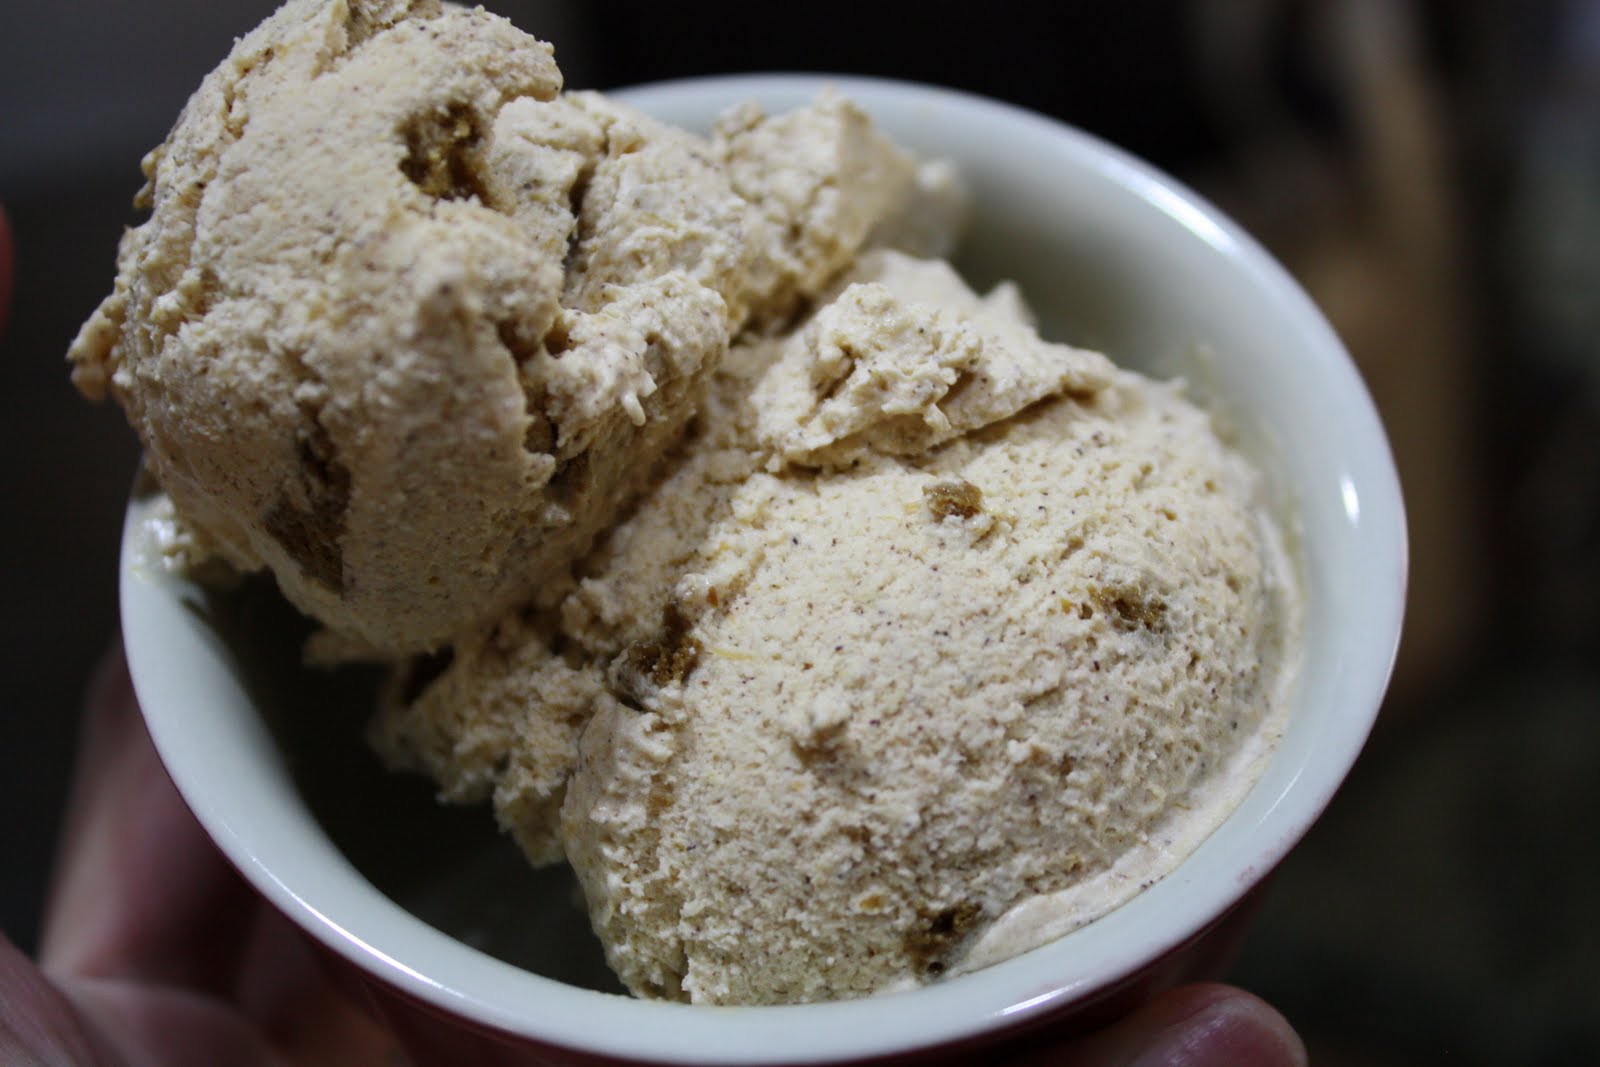
Pumpkin Gingersnap Ice Cream

Who knew Tuesday would be such a culinary delight-ful day!


Again, this recipe is from the October 2011 Sunset issue. You can find the recipe here.


Do you see those little speckles? They are speckles of goodness (gingersnap cookies).


Ingredients
1 pt. whipping cream
1/2 cup milk
1 cup packed light brown sugar
1 cup Homemade Pumpkin Purée
1 teaspoon ground ginger
1 teaspoon ground cinnamon
1 teaspoon vanilla extract
1/4 teaspoon salt
1/2 cup coarsely crushed gingersnaps
2 tablespoons bourbon (optional)

Preparation
1. Whisk all ingredients except gingersnaps and bourbon in a bowl to blend. Strain into an ice cream maker and freeze according to manufacturer's directions. (I actually skipped this part...oops. Hey, working from home and cooking at the same time can be distracting...but luckily it wasn't too much of an error. I'll be sure to strain it next time I make this, and I *will* make this again)
2. Scrape ice cream into a bowl and stir in gingersnaps and bourbon. Freeze, covered, until scoopable, 2 1/2 hours and up to 1 week (gingersnaps soften somewhat after 1 day).

 Ingredients:
Added to the milk & cream:

All blended together:


The ice cream maker does it's magic, and into the freezer for a couple hours:


And then, this goodness can be enjoyed!

Monday, July 4, 2011

This year's July 4th Cake


Have you ever had one of those cakes from the Asian pastry shops with the fruits on top? They're similar to a sponge cake, but super moist and not very sweet. In Korean, it's called seeang cream cake, but you can find them in Chinese or Vietnamese bakeries as well.We used to get one of these for every one's birthdays growing up. They're pretty pricey at the bakery these days, and I love to learn new things....so this weekend, I made one! I used strawberries and blueberries to form the American flag. It was pretty close to the ones at the bakery. I used the recipe from Honey and Butter's blog.

I'm not sure why I always take photos of the ingredients, but I do and here are the ingredients for this cake...


 And the whipped cream:


I started running out of time for the BBQ we were going to, so I was in a hurry, plus it got messy once the whipped cream came into play. Here's a photo of the center filling, I added chopped strawberries to the cream:


Oh yeah, one very useful trick I picked up was to line your cake circle with several pieces of seran wrap, place the cake on top, frost your cake. When you're finished frosting the cake, pull the seran wrap off. It catches all the stray frosting so that you don't have to worry about transferring the frosted cake to the cake circle. It also saves time.

Here is both layers of cake frosted and ready for the fruit decoration:

The cake:


Thursday, June 23, 2011

Make a Flag Cake, Make a Flag Cake!

I can not believe it's almost the end of June. AND the July 4th weekend is next week! Last year, I made this totally awesome flag cake. Trust me, it's awesome. You should make one too! Seriously! It was a lot of fun to assemble AND everyone at your party will LOVE it. I promise! Click here for the HOW TO. Have fun :)

Saturday, June 18, 2011

Peach & Cheese Danish

It's summertime, and I get a lot of free fruits from people. I love it! But, a (good) problem I have is that I get so many that I can't finish. So, I make fun things like this danish. It was so good and easy for a Friday night. Easier because I used store-bought puff pastry.


Caramelize the peaches:
2 peaches sliced (I had white peaches)
3 tablespoons butter
1.5 tablespoons sugar

Preheat oven to 400 degrees. Melt the butter over low heat. Add sugar and peaches. Turn up heat slightly and cook peaches about 5 minutes or until caramelized.


Make cream cheese filling:
4 oz. light cream cheese (room temperature)
1/2 teaspoon vanilla extract
sugar (I don't remember how much I used, maybe 2 tablespoons)


Thaw the puff pastry according to the instructions on the box. Dunno why, but I had some problems separating the sheet (first time ever). So, I threw some flour on it and rolled it out. I cut them into 6 pieces (2 large pastries and 4 smaller pastries).


I formed the pastry shapes by pulling the edges up for the filling.


Top with the caramelized peaches:


Bake for about 20 minutes or until golden.


Let cool and enjoy with your favorite beverage.

Too Many Oranges!

What do you do with lots and lots of free oranges? I've been given more oranges than I can eat or drink by myself. Luckily it's been warm here in the Bay, so I made some juice bars and orange sorbet.

For the juice bars, simply squeeze the juice and pour into your popsicle molds. Easy like nothing else.


Even after I made the juice bars, I still had a basketful of oranges left.  I made orange sherbet. This too is very simple.


Recipe from the FoodNetwork.com here


Let your ice-cream maker do the work:


Transfer to a container, cover and freeze for a couple hours.


And, yes, I STILL have some oranges left...